RouterOS as a Whole Homelab: Router, NAS and Apps on a ZimaBoard 2
The full RouterOS config from my ZimaBoard 2 video (router, mirrored SMB NAS and three containers), section by section, plus what didn't fit in the video.
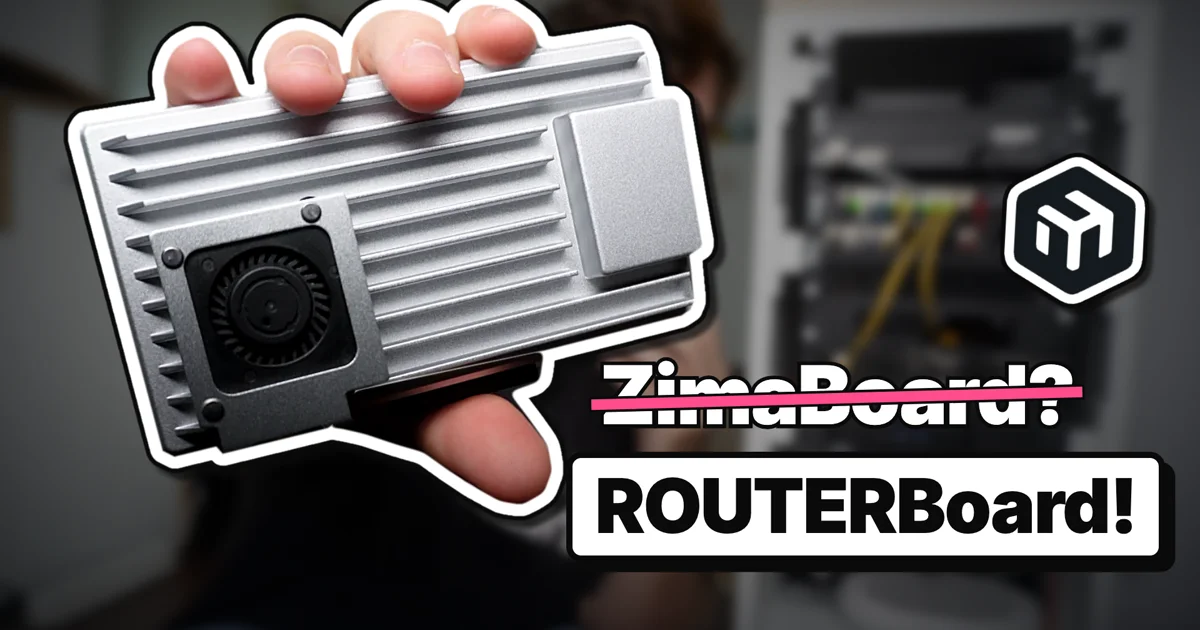
I recently put MikroTik’s RouterOS on a ZimaBoard 2 and gave it three jobs at once: router, NAS and application server. No Proxmox, no VMs, just RouterOS running the whole thing. You can watch the YouTube video for the full story and the test results.
This post is the companion to that video. It’s less narrative and more of the actual config, broken down section by section, plus a few things that didn’t make the cut. If you just want the script, you can download it as a .rsc file.
Status, last checked against RouterOS 7.25.1:
- ❌ No driver for the built-in 64 GB eMMC, so you need a separate boot drive
- ❌ No Intel GPU driver, so no hardware transcoding in Jellyfin
Both are software limits, so a future RouterOS release could fix them. I’ll update this box when that happens. If you spot it first, let me know in the comments!
The Hardware
IceWhale sent me this ZimaBoard 2 for free and I get to keep it. They didn’t pay me, had no editorial input, and didn’t see the video or this post before they went live.
- ZimaBoard 2 with the Intel N150, 16 GB of RAM, dual 2.5 GbE, two SATA ports and a PCIe slot
- The dual drive bay from the Zima NAS kit, with two random 240 GB SATA SSDs I had lying around
- A 16 GB Optane drive on an M.2 adapter in the PCIe slot, as the boot drive (more on why below)
🎁 Want one? Get a ZimaBoard 2 through my affiliate link and use code
mirceanton_15for a discount. I get a small commission at no extra cost to you.
For testing, ether1 (WAN) goes into my CRS317, and ether2 (LAN) goes straight to my laptop. The whole thing sits behind my real network as a lab, not as my actual home router.
Installing RouterOS
The install itself is the usual x86 routine: flash the RouterOS installer to a USB stick, pick it from the BIOS boot menu, and the board boots into rEFInd and then the installer.
The problem shows up at the disk picker. The two SATA SSDs are there, but the board’s built-in 64 GB eMMC isn’t. On 7.25.1 RouterOS simply has no driver for it, so you can’t install the OS there. My workaround was the Optane drive in the PCIe slot. It works, and both SATA ports stay free for the mirror, but it costs you the PCIe slot. That means no 10 gig NIC or extra SATA controller later, unless you start getting creative with adapters.
For packages, I picked container (for the apps) and rose-storage (for RAID, the filesystem features and so on). You can add them after installing, but it’s simpler to do it here.
RouterOS on x86 isn’t free. You get a 24-hour trial, after which you need a license. A Level 4 license is $45 and covers everything in this post. The license is bound to the drive RouterOS is installed on and can’t be moved to another one, so if a future release adds the eMMC driver, moving the OS over means buying a new license.
On first boot, log in as admin with a blank password and it immediately asks you to set a new one. A fresh x86 install comes with no default configuration: no IP, no DHCP, no firewall. So I connected with WinBox over MAC address and pasted everything below into the terminal.
Job One: The Router
Interfaces and the LAN Bridge
| |
The interface lists are there so the firewall rules can say “WAN” and “LAN” instead of naming ports. A bridge looks a bit pointless with only one LAN port, but it pays off later: every container gets a virtual interface that plugs into this same bridge.
Firewall
This is based on MikroTik’s default ruleset. The one thing to understand is that the input chain protects the router itself, and the forward chain protects everything behind it.
| |
On input I accept established and related traffic, drop invalid, allow ping for debugging, and drop everything that doesn’t come from the LAN. That last rule is why the SMB share and the WinBox access later on need no extra rules: they’re only reachable from the LAN anyway.
| |
On forward I accept established and related traffic, drop invalid, and drop any new connection coming from the WAN unless it was explicitly port-forwarded (connection-nat-state=!dstnat).
About the fasttrack rule: on some MikroTik switches, fasttracked connections can be offloaded to the switch chip. The ZimaBoard has no switch chip, so there’s no hardware offloading here. Fasttrack still gives eligible connections a shorter path through the CPU, so I kept it.
| |
IPv6: Off
| |
Controversial, I know. I’m not using IPv6 in this setup, and every firewall rule above is IPv4-only. Leaving IPv6 on without a matching /ipv6 firewall ruleset is worse than turning it off. If you want IPv6, copy MikroTik’s default IPv6 rules too.
Addressing, DHCP and DNS
| |
ether1 is a DHCP client toward the upstream network. On the LAN side, the bridge gets 192.168.88.1 (the usual MikroTik default). Clients get leases from .100 to .254 and use the ZimaBoard as both their gateway and DNS server. allow-remote-requests is what lets the router answer DNS for them, and the input rules above keep that LAN-only.
Hardening
| |
RouterOS ships with a few services I don’t need: Telnet, FTP, the web UI and the API. That leaves SSH and WinBox. If you’re automating with Terraform or Terragrunt like I do, you’ll want the API (ideally api-ssl) back on. I also limit neighbor discovery and MAC access to the LAN, so the router doesn’t advertise itself on the WAN side.
How Well Does It Route?
I ran an iperf server on my TrueNAS box, which is connected at 10 Gbit to the CRS317, and the client on my Mac, which is connected at 2.5 Gbit to the ZimaBoard. So the traffic goes laptop → ZimaBoard → CRS317 → TrueNAS.
Result: about 2.3–2.4 Gbit/s, basically filling the 2.5 GbE link, with the ZimaBoard using less than 25% CPU. The missing hardware offload doesn’t hold this config back from the link’s practical limit.
Job Two: The NAS
RAID 1
This wipes and formats both SATA drives. Mine were spares with nothing on them. Double-check yours under System → Disks first.
| |
This creates a software RAID 1 device and adds both SATA disks to it. I went with ext4 because it’s simple. Btrfs is also available and has its own advantages, but for a basic two-disk mirror I didn’t need them.
The folder layout matters a bit: Media is what gets shared over SMB, while Containers (app data) and tmp (image downloads) live on the same mirror but outside the share. The Optane drive has exactly one job, which is booting RouterOS.
The obligatory reminder: RAID is not a backup. A mirror survives a dead disk. If I delete my music collection, or it gets corrupted, the mirror will very efficiently do the same to both copies.
SMB Share
| |
One user, one share pointing at Media, and SMB turned on. Change that password, obviously. No firewall rule is needed, because input from the LAN is already allowed.
How Fast Is It?
I copied a 6 GB file from my Mac to the share while watching the interface traffic and the CPU profiler in WinBox.
- Writing to the ZimaBoard: basically saturating the 2.5 GbE link, with the CPU well under 10%
- Reading back: peaks around 1.6–1.7 Gbit/s
The difference is most likely the SSDs. These are not exactly fancy drives. Either way, well over a gigabit is plenty for a basic shared folder.
Job Three: The Apps
Container Basics
| |
With the container package installed, the only global setting you need is the image registry and a temporary directory for image downloads. I point it at the mirror, so the boot drive stays out of it.
Each app was picked to test something different:
| App | What it tests |
|---|---|
| Navidrome | A plain container: networking, persistent storage, a mount from the NAS |
| Home Assistant | USB device access (a Zigbee dongle) |
| Jellyfin | GPU access for hardware transcoding |
Every container follows the same pattern: a veth interface with dhcp=yes, plugged into the LAN bridge, so the container gets an IP on the same subnet as everything else. No port forwards and no NAT rules. Then come mounts for persistent data, a few environment variables, and the container itself.
The trade-off of putting containers straight on the LAN bridge: they’re just LAN hosts, with the same access as any other device on the LAN, including to the router’s input chain. Fine for a lab. In a real setup I’d give them their own bridge and subnet, and firewall them off.
Navidrome
| |
The music mount points at the same Media/Music folder that’s shared over SMB. Copy music over from your laptop and Navidrome sees it. Once the container is running, grab its IP from the veth interface (/interface/veth print detail) and open it on port 4533.
I copied over about 40 GB of music (around 1,700 files) and triggered a full library scan. CPU peaked around 50% and the scan took under two seconds. Playback works as you’d expect: the traffic goes in through veth-navi and out through ether2 to the laptop.
Home Assistant (with a Zigbee dongle)
| |
The interesting part is the devices line. I have a Sonoff Zigbee dongle plugged into the board. To find what goes there, run:
| |
The dongle shows up as device usb2 at location 1-2.2. That’s what goes on the left side of the mapping, and /dev/ttyACM0 is where it appears inside the container. Yours will almost certainly differ, so check before pasting.
Home Assistant comes up on port 8123. After the setup wizard, the dongle was detected automatically under Settings → Devices. Adding it sets up the ZHA (Zigbee Home Automation) integration. From there I paired a smart bulb and could turn it on and off from a container running on my router.
This is Home Assistant Container, not Home Assistant OS, so there’s no add-on system. Integrations like ZHA work fine, but anything you’d normally install as an add-on (Zigbee2MQTT, Mosquitto, …) has to run as its own container.
Jellyfin (and the GPU problem)
| |
Notice there’s no devices line here yet. That’s the experiment.
First question: can RouterOS even see the GPU? /system/resource/hardware/print detail does list the Intel graphics and its location. Setting it as a container device from the CLI failed with an “ambiguous device” error. Picking it from the Devices dropdown on the container in WinBox did apply, though.
At that point I thought I might have it working. Then I started the container, exec’d into it, and listed /dev. No /dev/dri.
RouterOS can list the PCI device, but it doesn’t ship the graphics driver needed to expose a usable render device to the container. And a container can’t bring its own kernel driver. To be clear, that’s a limit of RouterOS, not of the board. The N150’s iGPU works fine under other operating systems.
Jellyfin itself runs fine on port 8096. A library scan peaked around 45–50% CPU and finished in a few seconds. Playing Big Buck Bunny was smooth, with surprisingly low resource usage, because it was a direct play: the client already understands the file, so Jellyfin serves it without converting anything.
Before anyone writes in the comments: yes, hardware transcoding matters for a media server, but only if your clients need it. My real Jellyfin instance has an NVIDIA GPU, and I don’t think it has transcoded once in the past six months, because everything in my library plays directly on my clients.
Everything at Once
With all three jobs set up, I ran them together:
- music playing from Navidrome
- Big Buck Bunny streaming from Jellyfin
- a batch of large files copying onto the SMB share
- an internet speed test from the laptop behind the ZimaBoard
- Home Assistant still running, with the Zigbee bulb paired
My internet connection is gigabit, and the file copy, the speed test and both streams all share the same 2.5 GbE link to the board. So I wasn’t expecting every test to hit its standalone maximum. What I wanted to know was whether any one job makes the others unpleasant to use. Do the streams stop? Does the speed test fall apart? Does Home Assistant still respond?
Everything just kept working. The music kept playing, Big Buck Bunny didn’t drop any frames I could see, and the file copy kept going.
| Metric | Result |
|---|---|
| Speed test (through the ZimaBoard) | ~900 Mbit/s down and up, basically the whole gigabit line |
| CPU | Peaks around 22–25% |
| Power at the wall | Under 25 W |
| Memory | ~2.3 GB used of 16 GB |
With that much memory headroom, the cheaper 8 GB model would be plenty for this setup.
Verdict
So, can this little board do all three jobs at once? Almost. The hardware is definitely there, but the software holds it back:
- No eMMC driver, so the boot drive takes over the PCIe slot.
- No GPU driver, so Jellyfin is limited to direct play or CPU transcoding, while the iGPU just sits there.
The good news is that both are software problems, and software can be updated. I could easily see GPU drivers becoming an optional package, much like rose-storage: there if you need it, left out if you don’t.
Would I trust it to replace my RB5009 and the rest of my homelab? That’s going to take more than an afternoon of testing. But the cool part stands: no Proxmox, no hypervisor, no separate NAS, router or app VM eating resources. Just RouterOS, doing quite a bit more than routing.
The Full Config
The whole thing lives in one file: download zimarouter.rsc. It’s the same config as the sections above, in the same order and with the same numbering.
It assumes a fresh install with no default config, ether1 as WAN and ether2 as LAN.
Section 7 wipes both SATA drives. Change the SMB password, and check your USB device before the Home Assistant section.
Changelog
- 2026-11-10: Published. Tested on RouterOS 7.25.1.