GitOps in the Wild: How we run FluxCD at Raiffeisen Bank
A talk I gave at CloudNativeDays Romania 2026 covering how a 4-person team runs 75+ production apps on 5 Kubernetes Clusters with most things on autopilot.
A few days ago I had the pleasure of attending CloudNativeDays Romania, but this year, as opposed to last year, I attended as a speaker instead of a participant. My presentation went well enough that people asked me to post the slides, which, sure, I’ll do, but a PowerPoint by itself feels a bit lonely. So here’s the companion piece: the story behind the slides, in a format that actually makes sense to read.
For a bit of context, my talk was a case study. I like product pitches as much as the next guy, but case studies, showing real technologies used in real scenarios, are much more interesting IMHO. I also didn’t want this to be a “tutorial. No “here’s how to install FluxCD in 10 minutes.” Plenty of resources cover that. My aim was about what happens after the 10 minutes, when you have over 75 production applications, spanning 5 clusters, 3 in EKS and 2 on-prem, 200+ Git repositories, and… 4 people to manage all of it.
That last number is the one that usually gets a reaction.
The thesis of the talk was simple: the only reason a team that small can operate at that scale is automation. And when I say automation I don’t just mean CI/CD pipelines. I’ll cover those too, of course, but I want to paint a picture of the full supply chain, from “I need a repo” all the way to “my app is in production and keeps itself up to date.” So let me walk you through it.
The Setup: A Journey, Not a Tutorial
Rather than throwing an architecture diagram at people and calling it a day, I structured the talk as a journey. Follow a new application from idea to production, and introduce each piece of tooling as it naturally enters the picture. I am a strong believer that learning tools just for the sake of learning them is next to pointless. If you don’t understand what problem you’re solving then it’s all for naught.
I went for that framing because it’s easy to look at a mature platform, throw in a complicated-looking architecture diagram, and feel overwhelmed by all the moving parts. But if you follow the path a developer actually walks, each step HAS to make intuitive sense.
So here we go: a new use case comes in. Typically something an AI agent or internal tool could handle. We have a clear idea of what we want to build… I mean… as clear as the business can formulate it. What’s the first thing we need? Well, probably a PoC before a repo, but let’s start off with the repo 😅
Step 1: Repos Are Not a Manual Task
You could create a GitHub repository by hand. Click some buttons, configure branch protection, add teams, set up the right settings. Do it once, it’s fine. Do it 5 to 10 times, it’s less fine. Do it 200 times and you will inevitably drift. At least mentally if not in terms of state…
Some repos will be missing required status checks. Others will have slightly different team permissions. And if you ever need to change something across the board. Good luck and godspeed!
We solved this with OpenTofu + Terragrunt.
We have a module that encapsulates everything a “standard” GitHub repository in our department looks like: branch protection rules, team assignments, required checks, the works. Then we have a Terragrunt layout with one unit per repository, where the directory name matches the repo name. Creating a new repo is as simple as creating a new Terragrunt unit.
CI validates on PR, merge applies the change, and we also run terragrunt run-all apply on a cron schedule as a reconciliation loop. Just like Flux does for Kubernetes, but for GitHub itself, by GitHub itself (it’s an action triggered on a cron syntax).
The real win here isn’t necessarily repo creation (though that is real nice as well). If we need to update something globally, say, add a new required status check, we update the module once, open a PR, review the comment which includes the changes, merge to main, and it propagates everywhere automatically.
So that’s the problem solved then, right? Eh… not quite.
Not everyone on the team knows Terragrunt. Heck, not even everyone in the OPS team knew Terragrunt, let alone the dev team. Fair enough, though. They probably care as much about Terragrunt as much as I care about <insert_random_dev_tool_here>. So we had to somehow make that automation even more simple.
Copier is a Python templating tool (think cookiecutter, but with a feature that’ll matter in a few moments). If you’re not familiar with any of those, you can kind of draw a similarity between that and helm. Cookiecutter has a folder of templates, just like helm, but this time they’re Jinja templates instead of Go templates. We’re working in python after all. What copier adds on top of that is that, in order to produce that values.yaml file to render out your templates, it starts giving you prompts in the terminal to ask you questions like “What is the name of your repo?”, “What team has access to it?” and so on. Once you’re done asking, it generates the yaml file for the values and renders out the template. Kind of like helm template.
So we built a template that asks you a few questions and spits out the Terragrunt unit. To make it even more approachable, we standardized on Taskfile across the board (it’s basically Makefile, but written for the current decade), so creating a new repo is just:
| |
Answer some questions, get a PR, merge it, done. You don’t need to know Terragrunt to make it work. If you can read and answer questions you should be good to go!
Step 2: An Empty Repo Is a Trap
So now we have a shiny new GitHub repository. And staring at an empty repo thinking “okay, now what?” is genuinely one of the most friction-heavy moments in developer experience. Or at least in my experience.
Where does the CI go? What’s the folder structure? How do we lint? How do we build Docker images? Where does Renovate config live?
This is where our template stack comes in, and it’s the part I’m most proud of.
We have a layered set of Copier templates:
- Base template -> the foundation. Sets up Renovate, CodeQL, security scanning, automated releases via conventional commits (both CalVer and SemVer supported, depending on the project), Taskfile automations and so on. Basically, all of the CI and boilerplate that ANY repo in our department needs, regardless if it’s a code repo, infrastructure repo or whatever in between.
- Backend template -> layered on top of the base template for Python services. Given we’re exclusively a Python shop, for us “backend” == “python”. This one adds a subdirectory for the microservice, CI for tests, linting, standardized Dockerfiles etc.
- Frontend template -> same idea, but for Javascript and for static sites.
- Deploy template -> more on this one shortly, but this one sets up a deployment repository for FluxCD
Initially when we started working on these templates, we made them monolithic. Meaning that each microservice of an app needed it’s own dedicated git repo. The backend template was standalone, the frontend template was standalone. But that ended up being A. a lot of repos and B. a b*tch to manage for the dev team, having 3 different docker compose stacks to manage in order to spin up an application fully.
So we updated (read: re-made) these as composable pieces, like a puzzle. A repo can have one backend service, or three, or a mix of backend and frontend. Each layer adds its piece without fighting the others.
The templates define a contract: if your project has a Dockerfile with a prod stage and exposes task lint and task test, the CI Just Works™. That consistency is what lets us reason about 200 repos without going insane.
The Part That Makes Copier Worth It
Here’s the thing that made us pick Copier over GitHub’s built-in repository templates: the .copier-answers.yml file.
When Copier applies a template, it writes a small YAML file to the repo recording which template version was used and what answers were given. That file is called the answers file and it is the key to everything. Because… *drum roll* Renovate can read it.
When we release a new version of a template, Renovate detects it in every downstream repo and automatically opens a PR. Not just a version bump PR though. It actually runs copier update as part of the Renovate action, pulling in the new template changes!!!
This means we can push a CI improvement, say, a faster linting step, a better Dockerfile base image, a new security scan, release it in the template, and it propagates to every repository automatically. We have renovate running every 30 minutes on every single repo, so within 30 minutes it will open a PR to every single repo, and within ~1h that PR will probably make it to the main branch.
That single feature is the reason we chose Copier. Everything else was a bonus tbh.
Step 3: Deploying to Kubernetes (Finally!)
Alright, we’ve been talking about repos and templates for a while. Let’s get to the Kubernetes part.
The deploy template layers on top of the base template and introduces:
- A
kubernetes/directory -> home for all Kubernetes manifests. In practice, mostlyOCIRepositoryandHelmReleaseobjects pointing to our internally built Helm charts, but things can get spicy every now and then; - A
config/directory -> for tf-controller manifests. More on this in a second; - A
terraform/directory -> OpenTofu (ironic, right?) configuration for non-Kubernetes resources; - CI to validate Flux manifests locally via
flux-local, lint YAML, validate OpenTofu, etc.
The tf-controller bit deserves a mention. Most apps need Kubernetes workloads sure, but they also need surrounding infrastructure too. Keycloak clients, LiteLLM tenants, S3 buckets, IAM roles etc. These apps, while they’re great, they are NOT Kubernetes native and they don’t have Kubernetes operators (please don’t bring up crossplane).
Normally, we’d manage them out-of-band but instead, we use the tf-controller (a Flux community plugin) to GitOps-ify our OpenTofu code (specifically for the platform-level components running in-cluster).
The controller runs inside the cluster, reads the Terraform.yaml CR manifests from the config/ directory, and reconciles the infrastructure state automatically. It’s basically the Flux Kustomization equivalent for Terraform/OpenTofu code.
It keeps everything in Git. Code, Kubernetes manifests, and the surrounding infrastructure config. One reconciliation loop to rule them all. One reconciliation loop to find them. One reconciliation loop to bring them all and in the cluster bind them.
Step 4: The Fleet Repository
To understand how deployments actually land in a cluster, you need to understand how we structured our Flux “entrypoint”, what is typically called the fleet repository.
It’s loosely based on the D2 reference architecture, with our own adjustments.
At the root we have:
- a
bootstrap/directory with a minimal set of manifests required to get flux up and running in our air-gapped environment - a
clusters/directory with per-cluster configuration. Things like cluster-specific certificates, ConfigMaps, and Secrets used for Flux post-build substitution. This lets us customize manifests slightly per environment without going deep into Kustomize overlays. Think of them as environment variables for your GitOps config. - an
apps/directory with per-namespace subdirs, each containing the manifests to set up a new tenant.
Each tenant namespace directory gets:
namespace.yaml(obviously)- A
GitRepositorypointing to the relevant deploy repo - A
Kustomizationpointing to thekubernetes/directory - A
Kustomizationpointing to theconfig/directory (for tf-controller)
Once a developer has their deploy repo set up, they run one more Copier command to template out a new tenant in the fleet repo (read: a new entry in apps/ pointing to their app). PR, CI, merge, and Flux picks it up on the next reconciliation loop.
At that point, the application lands in our PRELIVE environment. Which brings us to promotion.
Step 5: Promoting to Production
Here’s a pattern that’s slightly unorthodox but has worked really well for us: branch promotion.
Yes, I know, gitless GitOps is the current recommendation. We evaluated it and, for our specific workflow, stuck with branches. Here’s how it works for us.
Each deploy repo has two long-lived branches (gross, i know): main and production. In the fleet repo, each cluster has a GIT_BRANCH variable that Flux uses in post-build substitution. Our PRELIVE clusters point to main; our LIVE clusters point to production via the GitRepository CR uses that variable, something like this:
| |
The production branch is heavily guarded by branch protection rules. Our CI service account is the only entity within Raiffeisen that can push to it. When a developer is happy with how the app behaves in the prelive environment, they trigger a GitHub Actions workflow called “Promote to production.” That workflow, running as the service account, rebases production onto main.
The result is a clean audit trail. You can look at the Actions logs, see exactly who triggered the promotion and when, and trace it back to the commits that came in. Using the main and production branches is the equivalent of using rolling tags for OCI artifacts but we bypass the artifact building stage.
The reason we wanted rolling tags is to allow devs to deploy, update and promote their apps all from their own deploy repos. They shouldn’t have to touch the ops-owned fleet repo for anything else other than onboarding. I’m a strong believer of “you build it, you run it” and that requires them to have the rights to manage the lifecycle of their app.
Step 6: Keeping Everything Updated
This is the part most talks skip, and IMHO the hardest part in practice.
Getting something to production once is a solved problem. Keeping 75+ apps, their dependencies, their base images, their CI pipelines, and their surrounding infrastructure continuously up to date with a 4-person team? That’s where things get interesting.
The answer, for us, is Renovate. Everywhere.
Renovate is a dependency update bot, but we’ve pushed it well beyond its typical use case. Here’s a partial list of what it manages for us:
- Container image tags in Kubernetes manifests (both internal and external)
- Helm chart versions (pushed as OCI artifacts to our internal Artifactory)
- Copier template versions (via the
.copier-answers.ymltrick described above) - GitHub Actions versions
- Flux component versions
- OpenTofu provider versions
- OCI references for our internal OpenTofu modules
- Python package versions in
pyproject.toml - Node packages in
package.json - Kubernetes
apiVersions
We have a bundle of reusable Renovate configuration that all repositories reference. That bundle configures auto-merge for trusted packages on patch/minor updates, as long as all CI checks pass. So for the vast majority of routine updates, framework patches, base image updates, provider bumps, the PR opens, CI passes, and it merges itself. No human required.
The Full Loop
Here’s what the whole thing looks like when it’s running:
- I push a CI improvement to the base template and a Dockerfile update to the frontend template.
- A new release is cut automatically via conventional commits analysis on the next scheduled run. Say
v2.5.1->v2.6.0 - Renovate detects the new template version in every downstream repo and opens PRs.
- Those PRs update the workflows and the Dockerfile base image.
- The CI on the PR runs and passes eventually.
- On the next run, Renovate will automatically merge that PR back to main.
- The Dockerfile change triggers a new release in the app repo.
- The new release triggers a Docker build and push to Artifactory.
- Renovate, running in the deploy repo, detects the new image tag and opens a PR.
- Developer reviews the deploy PR, merges, and the app lands in prelive automatically.
- They test it, run the “Promote to production” workflow, done.
From a template improvement to a production-ready staging PR, mostly automated, with human decision points only where they actually matter.
Lessons Learned
A few honest takeaways from building and running this for a while:
Yes, it’s a lot of repos. But because 90% of them are structurally identical and managed by templates and automation, it’s genuinely not that bad to reason about. The overhead is upfront (and minimal), not ongoing.
Branch promotion requires discipline. It’s not the official recommendation anymore, and for good reason, but if your team buys into it and your branch protection rules are tight, it can work perfectly well.
Invest in developer experience early. The Taskfile commands, the Copier templates, the “just run this one command” wrappers… These may feel like unnecessary polish, but they’re actually what makes adoption happen. My practical advice is to pick a simple use case or a dummy project and run it through your platform before trying to sell anyone on it. Build the thing, feel the friction, fix it, then pitch it.
Automation compounds. Spending time now to automate something will pay off in big time in the future. This is especially true for small teams. The effort to automate the fifth thing is lower than the effort to automate the first, because the infrastructure is already there. There is, as someone wise once said, nothing more permanent than a temporary solution. Automate early.
Closing Thought
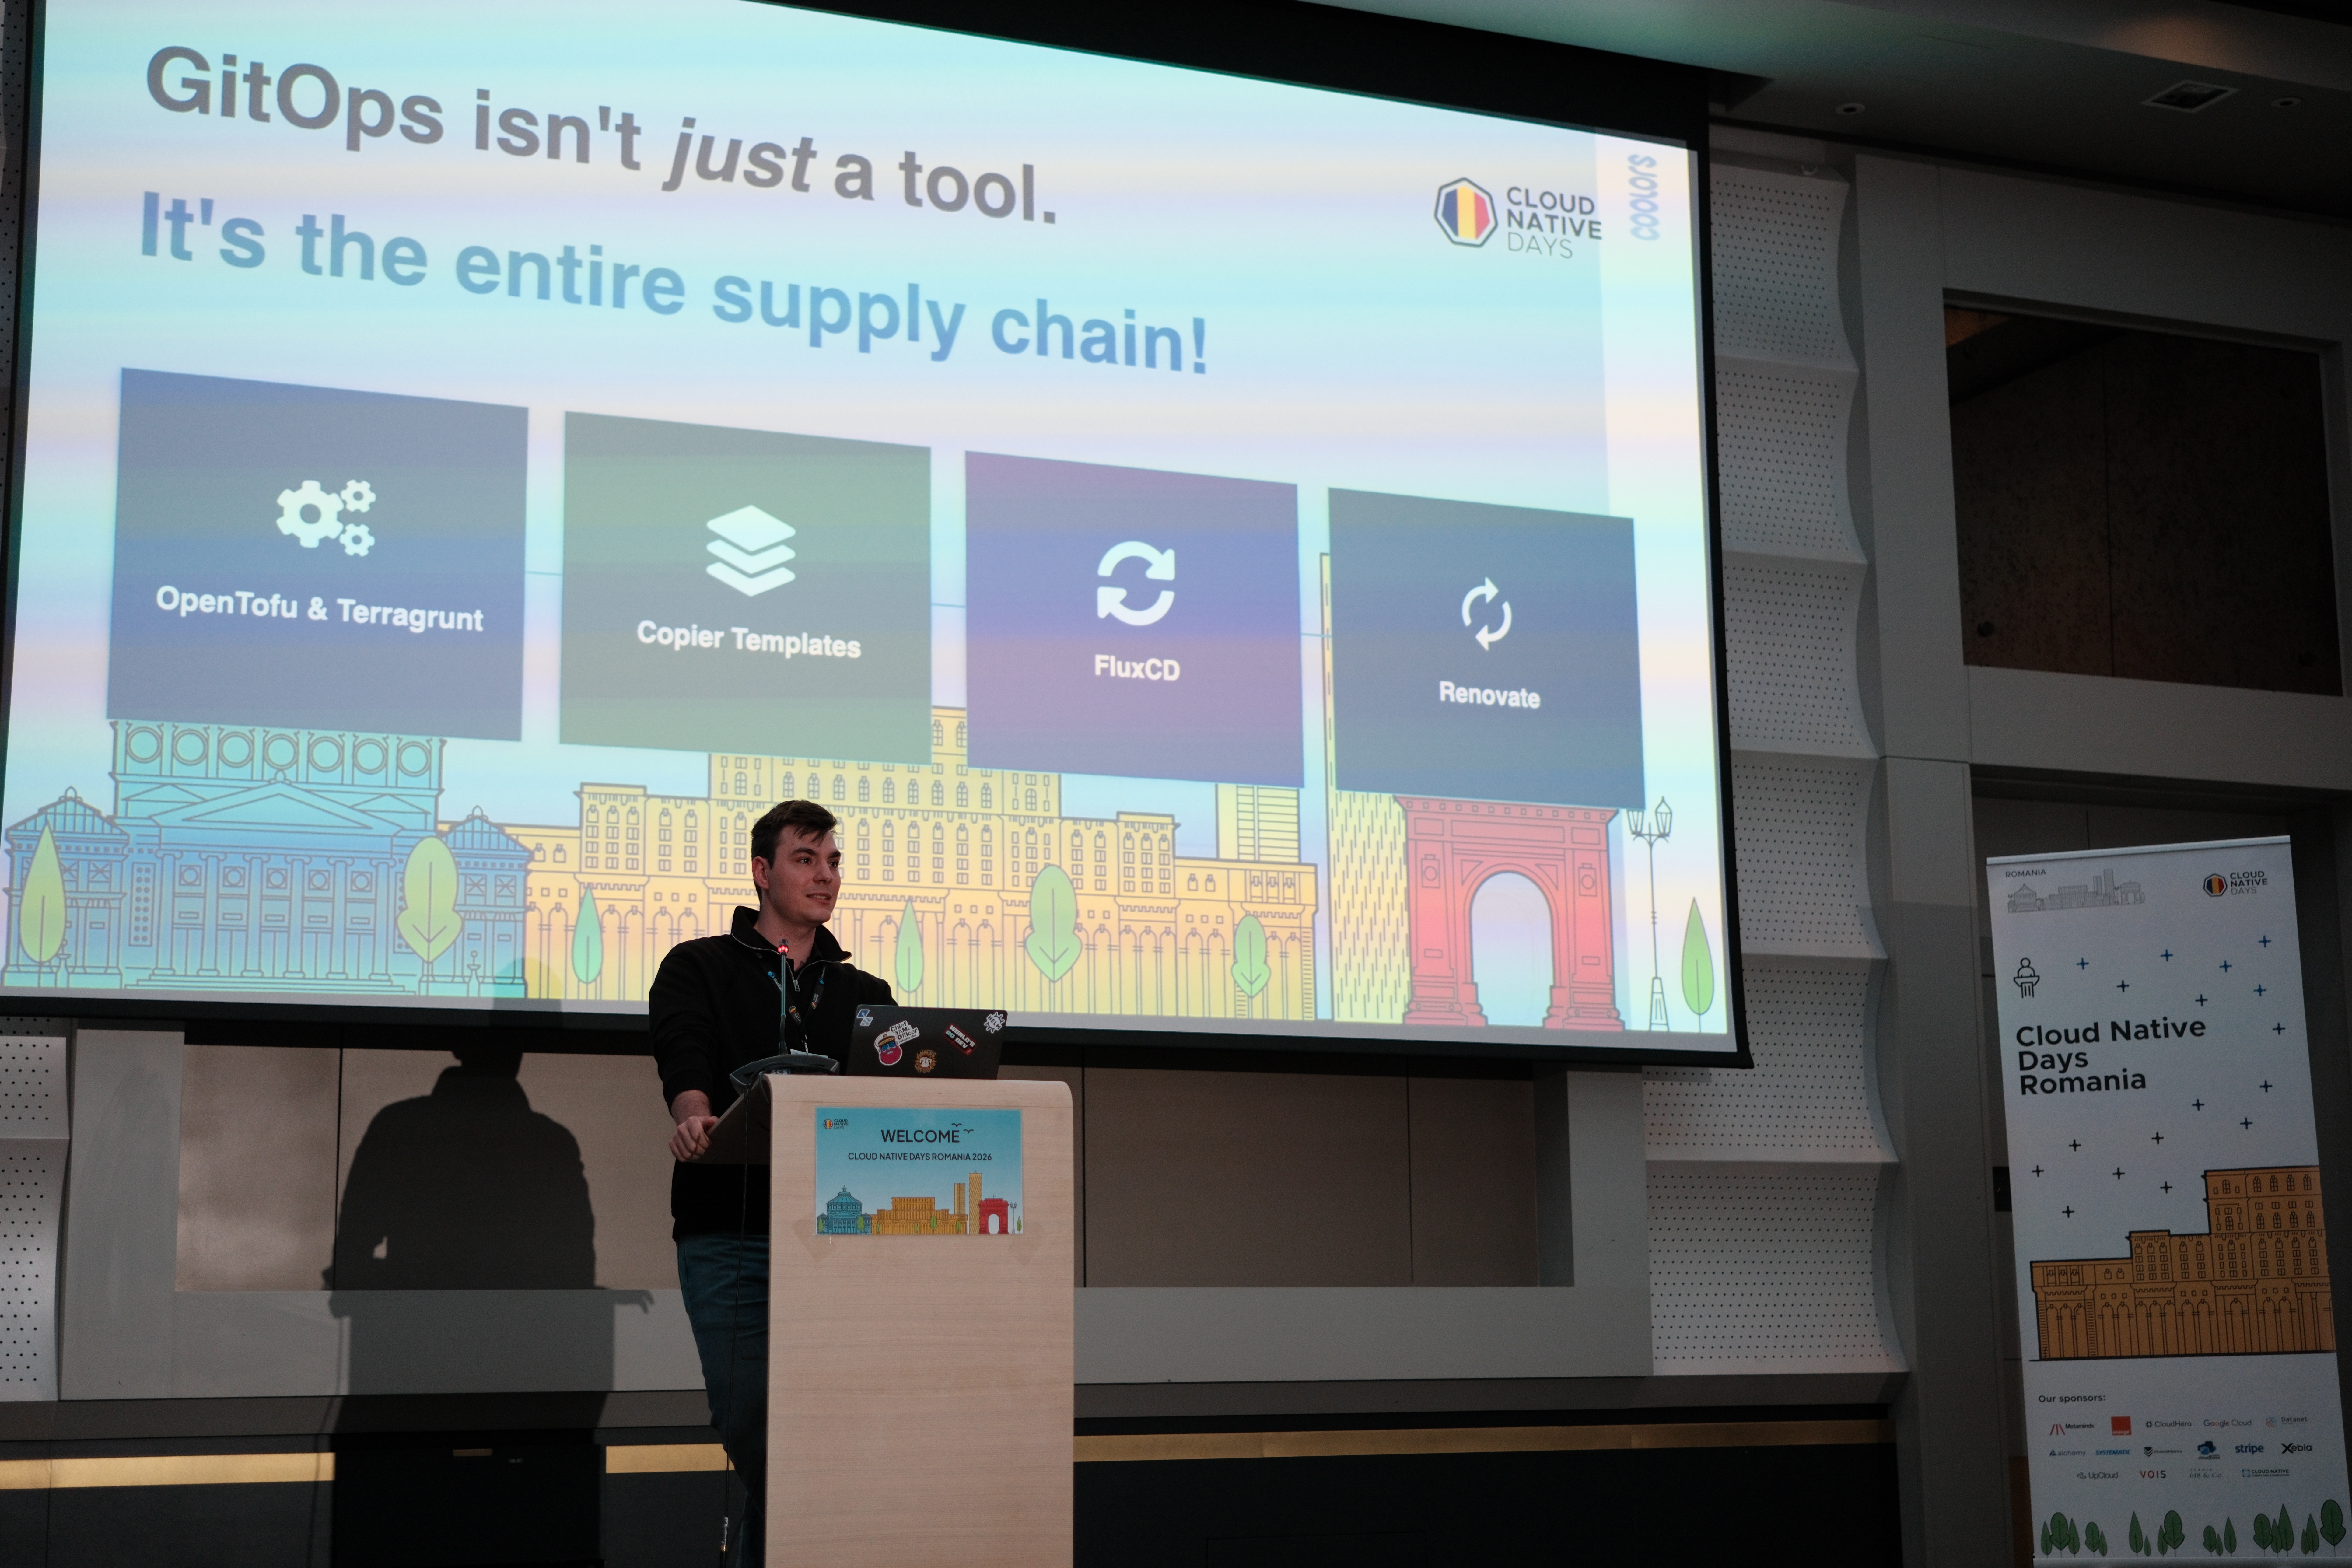
The title of the talk was “GitOps In The Wild”, and I think what makes it “wild” is that GitOps doesn’t stop at your Kubernetes cluster. It’s a supply chain. From how your repos are created, to how your code is structured, to how it gets deployed, to how it stays up to date. Every link in that chain can either be manual and error-prone, or automated and auditable.
As you can see, we chose the latter.
The slides are attached below if you want to flip through them, and I’m happy to answer questions in the comments.
Until next time!
Useful Resources
Talk slides: GitOps_In_The_Wild.pptx
Tools referenced: